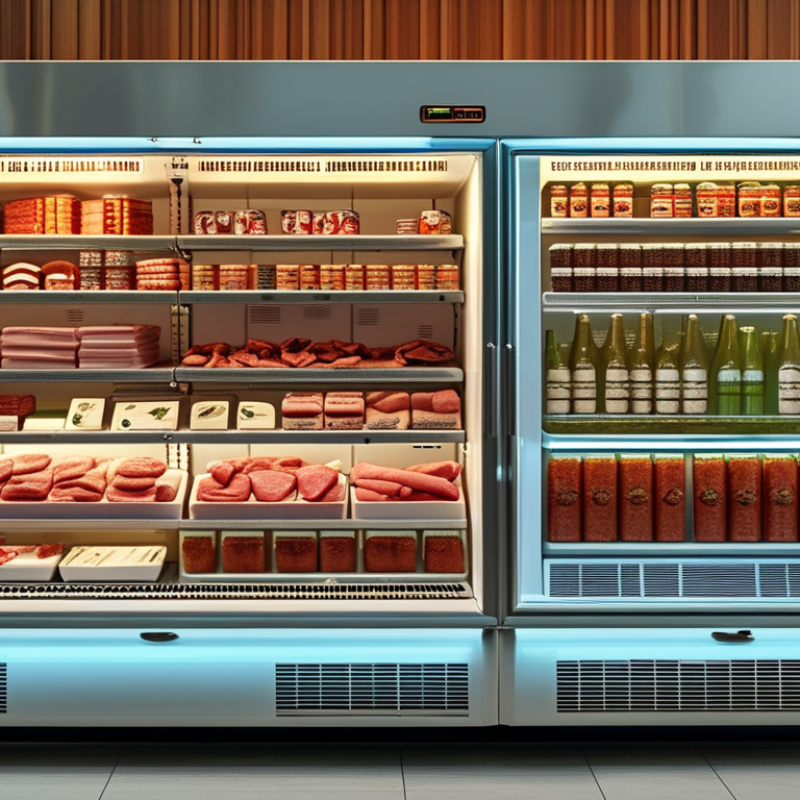
10 Tips for Choosing the Best Refrigeration Unit?

Choosing the right Refrigeration Unit is not simply a matter of comparing cooling capacity and price. The unit must fit the room, product load, operating schedule, climate, and available power supply. A freezer storing fresh meat needs different performance from a display case holding packaged drinks. Small mismatches can create frost, unstable temperatures, higher energy bills, and early compressor failure.

C. P. Arora, a respected refrigeration author, wrote, “The purpose of refrigeration is to provide and maintain a space at a temperature below that of its surroundings.” That principle remains practical today. A reliable Refrigeration Unit should remove heat consistently, operate safely, and remain serviceable after installation. Look closely at the condenser, evaporator, controls, insulation, refrigerant type, and maintenance access. These details matter.

The following ten tips focus on decisions that are easy to overlook. They consider efficiency, noise, installation space, temperature recovery, durability, and long-term operating costs. A cheaper unit may demand more cleaning or consume more electricity. That weakens its value over time.

There is no perfect choice.

Even experienced buyers can misjudge demand. I still believe real measurements beat assumptions. Record the room temperature, door-opening frequency, product volume, and peak usage before selecting equipment. Ask qualified technicians for written performance data, not vague promises. Check the manufacturer’s warranty and service network carefully. Good refrigeration is not only about cold air. It is about controlled heat removal, dependable protection, and fewer unpleasant surprises.

10 Tips for Choosing the Best Refrigeration Unit?

Define the Refrigeration Unit’s Intended Application

Define the Refrigeration Unit’s Intended Application

Before comparing capacity, define the unit’s working environment. Is it serving a walk-in freezer, a chilled display case, a food truck, or a temperature-sensitive laboratory? Each application demands different air movement, humidity control, defrost strategy, and recovery speed. The FAO’s State of Food and Agriculture 2019 reported that 14% of food is lost between harvest and retail. Poor temperature control can worsen that loss, especially during loading and frequent door opening. Measure product temperature, room temperature, door cycles, and available floor space before selecting equipment.

Tip: Write the daily operating conditions first.

A freezer holding meat at -18°C needs a different design from a cooler storing fresh vegetables at 2–8°C. Consider peak ambient temperature, cleaning routines, drainage, noise, and service access. The UNEP Global Cooling Watch 2023 reported that cooling demand could more than triple by 2050. Efficiency matters, but it cannot replace correct application matching. Ask an experienced technician to calculate the refrigeration load, rather than relying only on cabinet volume. A perfect choice is rare. I would also review seasonal usage, because a unit sized for holiday demand may cycle inefficiently during quieter weeks.

Tip: Match the unit to the product, not just the room.

Record the required temperature range and acceptable fluctuation. Check whether the refrigerant, electrical supply, and safety controls meet local requirements. ASHRAE’s refrigeration guidance emphasizes application-specific design, including airflow, heat gain, and defrost conditions. These details are easy to overlook. They often decide whether food stays stable overnight.

Calculate the Required Cooling Capacity and Temperature Range

Choosing a refrigeration unit starts with numbers, not cabinet size. Measure the product load, room volume, door openings, and ambient temperature. A unit must remove heat from fresh stock, packaging, lights, fans, and nearby equipment. For example, 300 kilograms of poultry entering at 8°C needs more capacity than already chilled goods. Record the desired storage temperature and acceptable fluctuation. Keep it stable.

Estimate the product cooling load with mass × specific heat × temperature change ÷ pull-down time. Then add heat entering through walls, door gaps, lighting, fans, and people. A 10–20% margin can cover unpredictable peaks, but oversized units may short-cycle. Short cycling wastes energy and creates uneven temperatures. Measure, do not guess. Include defrost periods when calculating the available cooling time.

Match the unit’s rated capacity to actual ambient conditions, not ideal laboratory figures. A hot loading dock can reduce real output. Check capacity at the evaporating and condensing temperatures your site requires. Use a calibrated probe at several shelf levels, especially near the door and return-air path. I once trusted a single center reading; it missed a warm corner. That small oversight changed the assessment. Leave room for defrost cycles and seasonal changes. A careful calculation may show that better insulation and disciplined loading improve reliability.

Compare Energy Efficiency, Refrigerant Types, and Operating Costs

Choosing a refrigeration unit requires more than comparing purchase prices. Energy efficiency, refrigerant type, and operating costs can change the real budget dramatically.

Tip 1: Check the unit’s tested energy rating, not only sales claims.

Tip 2: Measure your space accurately. An oversized system may cycle inefficiently.

Tip 3: Compare annual electricity use in kilowatt-hours.

Tip 4: Inspect insulation quality around doors and panels. Small gaps can create constant heat gain.

Tip 5: Review the refrigerant type and its environmental impact. Lower-impact options may support future compliance and responsible operation.

Tip 6: Confirm the refrigerant is suitable for your climate and required temperature.

Tip 7: Ask about service availability and technician qualifications. Specialized refrigerants can increase repair delays.

Tip 8: Calculate operating costs using local electricity rates. I once underestimated this figure by ignoring seasonal demand. That mistake was expensive.

Tip 9: Examine maintenance needs, including filter cleaning, coil access, and defrost settings. Easy access saves labor during busy periods.

Tip 10: Compare warranty coverage with expected equipment life. A cheap unit may cost more when downtime interrupts storage.

Also, check noise levels if the system operates near staff or customers. Keep installation conditions realistic; laboratory efficiency figures may not match a warm, frequently opened storeroom. Ask for documented test methods, temperature ranges, and safety certifications before deciding.

Evaluate Size, Installation Requirements, and Maintenance Access

10 Tips for Choosing the Best Refrigeration Unit?

Evaluate Size, Installation Requirements, and Maintenance Access

Choosing a refrigeration unit starts with accurate measurements, not guesswork. Record the room length, width, ceiling height, and doorway clearance. Measure twice. A unit that barely fits can block airflow and complicate future repairs. Leave working space around condenser panels and service connections. Technicians need room for tools, gauges, and safe movement.

Match capacity to the actual cooling load. Consider product volume, opening frequency, ambient temperature, and heat from nearby equipment. An oversized unit may cycle poorly and waste energy. An undersized unit can run continuously and struggle during busy periods. A qualified technician can verify these calculations. My own mistake was ignoring afternoon heat near a west-facing wall. The unit performed well in the morning, then lost efficiency later.

Installation requirements deserve equal attention. Check electrical supply, drainage, ventilation, floor strength, and lifting access before delivery. Confirm that doors, corridors, and elevators can handle the unit’s dimensions. Maintenance access should remain practical after installation. Removable panels, washable filters, and reachable components reduce service time. Keep records of inspections and temperature checks. Small details matter. Still, no plan is perfect. Future renovations, dust buildup, or changing workloads may expose weaknesses that initial measurements missed.

10 Tips for Choosing the Best Refrigeration Unit: Evaluate Size, Installation Requirements, and Maintenance Access
No. Evaluation Area What to Evaluate Practical Reference Data Selection Check
1 Determine the Required Capacity Calculate the heat load from product pull-down, daily product turnover, room size, lighting, people, door openings, and surrounding conditions. Avoid selecting capacity from room volume alone. Include product load, transmission load, infiltration load, fan and lighting heat, plus a reasonable design margin. A common engineering allowance is approximately 10–15% after the calculated load. Request a heat-load calculation based on the actual operating schedule and product temperature.
2 Match the Temperature Range Choose a unit designed for the required room or cabinet temperature rather than relying only on nominal horsepower or cooling capacity. Chilled storage commonly operates around 0–4°C (32–39°F). Frozen storage is typically maintained at or below −18°C (0°F). Exact requirements depend on the product. Confirm the required set point, allowable temperature variation, defrost method, and recovery time after door opening.
3 Allow for Ambient Conditions Evaluate the highest expected outdoor or plant-room temperature, humidity, solar exposure, and nearby heat-producing equipment. Condensing units are often rated at a specified ambient condition; performance can decrease as ambient temperature rises. A hot mechanical room may require additional ventilation. Compare the unit’s published operating envelope with the site’s maximum summer and indoor temperatures.
4 Verify Physical Size and Clearance Measure the available footprint, ceiling height, doorway width, service corridor, and clearance around air inlets and outlets before ordering. Maintain the manufacturer’s specified clearance. As a planning principle, leave enough space for airflow and full removal of panels, filters, fans, and coils. Create an installation drawing showing unit dimensions, access panels, airflow direction, and required service clearances.
5 Check Electrical Requirements Confirm voltage, phase, frequency, circuit capacity, disconnect location, starting current, controls, and any local electrical requirements. Common commercial supplies include single-phase or three-phase power at region-specific voltages. Actual current must be taken from the selected unit’s technical data. Have a qualified electrician verify the circuit, protective devices, grounding, and disconnect accessibility before installation.
6 Evaluate Refrigerant and Compliance Needs Select equipment using a permitted refrigerant and confirm leak-management, recovery, labeling, and installation requirements applicable to the location. Refrigerant regulations vary by jurisdiction and application. Lower-global-warming-potential options may be required or preferred for new installations. Confirm the refrigerant type, charge information, safety classification, technician qualifications, and local code compliance.
7 Plan Drainage and Defrost Ensure condensate and defrost water can drain safely without freezing, backing up, contaminating stored products, or damaging floors. Low-temperature rooms may require heated drain lines or dedicated defrost controls. Drain lines should be correctly sloped and protected from freezing where necessary. Review drain routing, trap requirements, defrost frequency, heater load, and access for clearing blockages.
8 Consider Installation Environment Assess dust, grease, moisture, corrosive atmospheres, wash-down procedures, vibration, noise, and the structural support available for the unit. Dirty or greasy environments can restrict condenser airflow and increase cleaning frequency. Wet areas may require suitable enclosure ratings and corrosion-resistant components. Select construction and protection appropriate for the room classification and cleaning method.
9 Design for Maintenance Access Make sure technicians can reach filters, condenser coils, evaporator fans, electrical controls, sensors, valves, drain pans, and refrigerant service ports. Routine coil and filter cleaning may be required monthly or more frequently in dusty or greasy locations. Inspection intervals should follow the equipment manual and operating conditions. Confirm that panels can be removed safely and that service work will not require moving stored products or dismantling permanent structures.
10 Compare Efficiency, Controls, and Support Compare seasonal efficiency, part-load performance, controls, alarms, temperature logging, spare-parts availability, warranty terms, and technical support. Useful controls may include high- and low-temperature alarms, door alarms, power-failure notification, defrost status, and remote monitoring. Energy use depends on load, ambient conditions, set point, and maintenance. Estimate total cost of ownership over the expected service life rather than comparing purchase price alone.

Verify Reliability, Safety Features, Warranty, and Supplier Support

10 Tips for Choosing the Best Refrigeration Unit

Reliability begins with the compressor, insulation, controls, and operating history. Ask for verified performance data, service records, and temperature test results. A unit should hold stable temperatures during busy loading periods, not only in a quiet showroom. Check the expected duty cycle, ambient temperature range, noise level, and energy use. Small details matter. Inspect door seals and hinges personally when possible. Loose seals often reveal poor maintenance or weak construction.

Safety features deserve equal attention. Confirm high-temperature alarms, door-open alerts, pressure protection, and safe electrical isolation. Ask how the unit responds after a power interruption. I once trusted a promising specification sheet and ignored the alarm interface. That was a mistake. Staff found the controls confusing during a routine test. A technically capable unit can still fail operationally if users cannot understand it quickly. Request a live demonstration and test the alarm before purchase.

Read the warranty carefully, including labor, parts, response times, and exclusions. A long warranty means little if transportation costs remain unclear. Evaluate supplier support through practical questions: Who answers after hours? Are spare parts locally available? Can technicians provide installation guidance and maintenance training? Ask for references from businesses with similar workloads. Written promises help, but documented service records are stronger. I would also request a sample maintenance schedule, although suppliers may provide one that feels overly optimistic. Compare it with your staff capacity and actual cleaning routines. Reliable support should remain useful after the invoice is paid.

Get a Quote
910-483-7828