How to Choose the Right Car Seal Strip?

Choosing the right Car Seal Strip is not a simple matter of matching black rubber to a door edge. The strip must fit the vehicle’s channel, tolerate movement, and keep water, dust, and wind noise outside. A poor fit may look acceptable in the showroom. It can fail after one rainy season.

Automotive sealing specialist Dr. Matthias Scherer offers a useful principle: “The best seal is selected for its environment, not merely for its shape.” That idea should guide every purchase. Check the original profile, installation gap, compression level, and contact surface before choosing a replacement. EPDM rubber suits many doors and trunks because it resists ozone, sunlight, and temperature changes. Silicone may perform better in extreme heat or cold, but it can cost more and require careful bonding. Flocked channels can reduce glass friction, while hollow bulb seals often improve compression and noise control.

Measure twice. Cut once.

A practical inspection should include the door frame, clips, adhesive area, and drainage path. Dirt or paint buildup can distort the result. Even a high-quality Car Seal Strip may leak if the surface is uneven. This is where buyers often focus too much on material and too little on installation. That mistake is understandable, but expensive. The ideal selection also depends on climate, driving frequency, door design, and maintenance habits. No single profile works perfectly everywhere. A careful comparison, followed by a small test section, usually gives a more reliable decision than a quick online purchase.

How to Choose the Right Car Seal Strip?

Understanding the Purpose and Types of Car Seal Strips

How to Choose the Right Car Seal Strip?

A car seal strip controls water, dust, wind noise, and vibration around doors, windows, the trunk, and the hood. It also helps maintain cabin temperature by reducing unwanted air exchange. Grand View Research’s 2024 Automotive Seals Market report estimates the global market will grow at about 4.7% annually through 2030. That growth reflects stricter comfort expectations and more complex vehicle designs. The purpose matters before the material does. A door weatherstrip cannot always replace a window channel.

Common types include door frame seals, glass run channels, beltline seals, trunk seals, and hood bumpers. EPDM rubber suits exterior areas because it resists ozone, sunlight, moisture, and temperature changes. TPE offers flexible processing and a smooth appearance. Silicone performs well across wider temperature ranges, but it can cost more. According to ASTM D2000 classifications, rubber selection should consider hardness, heat resistance, and aging performance. These details are easy to overlook.

Fit is practical, not decorative. Measure the original profile, groove width, length, and compression height. Check whether the strip uses adhesive, clips, or a push-in channel. A seal that feels too soft may flatten early. One that feels too firm may prevent proper door closure. Cold weather exposes weak choices quickly. I have seen installers focus on appearance and ignore corner tension. That was a mistake. Test the seal with water spray and a paper-slip check after installation. Perfect results are not guaranteed, so inspect the corners again after several driving cycles.

Checking Vehicle Compatibility and Measuring Installation Areas

How to Choose the Right Car Seal Strip?

Vehicle compatibility should guide every seal strip purchase. Check the vehicle’s model year, body style, door position, and existing channel design. A front door seal may not fit a rear door, even when both openings look similar. S&P Global Mobility reported that the average age of U.S. light vehicles reached about 12.6 years in 2024. Older vehicles often have compressed rubber, distorted channels, or previous repairs. That history matters.

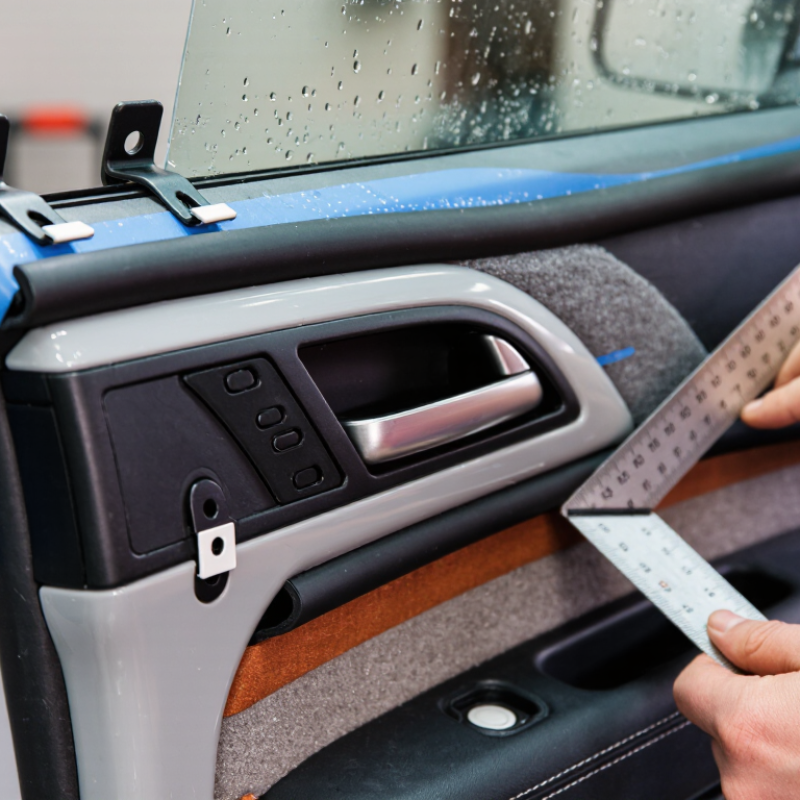
Measure before ordering. Clean the installation area, then measure the full door or trunk perimeter with flexible measuring tape. Record the channel width, channel depth, and seal height. Measure twice. I once found a replacement strip that matched the length but failed because its mounting barb was 1.5 millimeters too wide. The door closed, but wind noise remained. Also inspect corners, bends, and drainage gaps. A sharp bend can require a softer profile, while a narrow channel may need a smaller mounting base. Do not stretch the strip during measurement or installation.

Tips: Take close-up photos of the original profile. Compare its cross-section with the replacement. Check compression around the latch and hinge areas. Leave no extra length at first. Trim slowly after a trial fit. ASTM D395 testing procedures evaluate rubber compression set, but real performance also depends on fit, temperature, and installation pressure. That is easy to overlook.

How to Choose the Right Car Seal Strip? - Checking Vehicle Compatibility and Measuring Installation Areas

Selection Dimension What to Check Recommended Measurement or Specification Typical Reference Data Why It Matters
Vehicle Compatibility Installation position and vehicle body design Identify whether the strip is for a door frame, door edge, trunk opening, hood edge, window channel, or fixed glass. Measure the actual mounting channel or flange rather than selecting by vehicle name alone. Different body panels use different profiles, clearances, and attachment methods.
Existing Seal Profile Cross-section shape, retaining lip, bulb, or hollow chamber Remove a short section of the old seal and record its width, height, channel depth, and retaining-lip size. Common automotive sealing profiles include bulb seals, U-channels, edge trims, and extruded solid strips. A similar-looking profile may not lock securely or may apply excessive closing force.
Mounting Channel Width Width of the metal or plastic flange receiving the seal Measure the flange with a vernier caliper at several points; use the largest value plus the required grip allowance specified by the profile. Typical vehicle flange widths are often approximately 1.0–3.0 mm, but the correct value must be verified on the vehicle. An undersized channel can slip off, while an oversized retaining section may deform the panel or prevent full seating.
Seal Height Installed height between the body and the closing panel Measure the gap with the door, hood, or trunk fully closed and compare it with the compressed seal height. Many bulb-style seals compress by approximately 25%–40% during normal closure. The seal must compress enough to block water and air without making the panel difficult to close.
Installation Length Total perimeter of the application area Follow the actual installation path with a flexible tape or cord, then measure the cord. Required length = measured path length × 1.05–1.10; avoid excessive stretching during installation. A 5%–10% allowance helps cover trimming, corners, and small measurement errors.
Corner Geometry Sharp bends, radii, and changes in direction Record the smallest bend radius along the route and select a profile that can follow it without kinking. Use gradual bends where possible; do not force a rigid or reinforced seal around a tight corner. Kinks and wrinkles create leakage paths and can cause the seal to pull away from the channel.
Material Resistance to weather, water, heat, ozone, and automotive fluids Choose a material according to the exposure level and installation location. EPDM: strong resistance to water, ozone, and weathering.
Silicone: broad temperature capability and good flexibility.
PVC: commonly used for trim and edge protection; verify heat and weather requirements.
Material compatibility affects service life, flexibility, and resistance to cracking or hardening.
Temperature Range Expected ambient and under-hood temperature Check the supplier’s temperature rating against the installation location. Door and trunk seals commonly require approximately −40°C to +80°C or higher; under-hood areas may require higher-temperature materials. A seal that is not rated for the environment may become brittle, soft, or permanently deformed.
Hardness and Flexibility Compression resistance and ability to follow body contours Compare the product’s Shore A hardness and manually check flexibility at the intended bend radius. Many flexible automotive rubber seals fall roughly within 60–80 Shore A, depending on profile and application. Too hard can increase closing force; too soft may collapse and lose sealing pressure.
Attachment Method Push-fit, adhesive-backed, clip-on, or bonded installation Match the attachment method to the substrate and the original seal design. Push-fit for retaining flanges
Adhesive-backed for clean, flat surfaces
Bonded for fixed glass or specialized applications
The wrong attachment method can lead to peeling, movement, rattling, or water intrusion.
Adhesive Surface Preparation Cleanliness, temperature, and surface condition Remove dirt, wax, oil, loose paint, and old adhesive; allow the surface to dry completely. For most pressure-sensitive adhesives, installation is more reliable on a clean surface above approximately 15°C. Contamination and low temperatures reduce initial tack and long-term adhesion.
Water Drainage Factory drain holes and water-flow paths Do not cover, seal, or redirect original drain openings in doors, rocker panels, or trunk channels. Inspect drain holes before and after installation, especially along the lower edge of doors. Blocked drainage can trap water and contribute to corrosion or interior leaks.
Closing Force Check Door, hood, or trunk operation after installation Close the panel slowly and confirm even contact without panel rebound, excessive resistance, or latch misalignment. The panel should close using normal operating force and the seal should show continuous, even compression. Excessive compression can distort the panel, stress the latch, or shorten seal life.
Measurement Example Door-frame perimeter Measured path: 3,420 mm; allowance: 8% Required length = 3,420 × 1.08 = 3,693.6 mm, so select at least 3.70 m before final trimming. Using a calculated allowance reduces the risk of a short joint or overstretched seal.
Final Fit Test Water, wind-noise, and visible-contact inspection Inspect the entire perimeter, perform a gentle water test, and check for gaps or areas with no contact. Contact should be continuous around corners and along straight sections without visible gaps or bulges. A final inspection confirms that the selected size and installation method provide a complete seal.
Important: Reference dimensions are general guidance only. Always compare the seal profile with the vehicle’s original part and verify the measured channel, gap, compression, and temperature requirements before installation.

Comparing Seal Strip Materials, Designs, and Performance

How to Choose the Right Car Seal Strip?

Comparing Seal Strip Materials, Designs, and Performance

Choosing a car seal strip starts with the location, not the appearance. Door frames, windows, trunks, and hoods face different pressures. A strip that works well around a door may fail around a moving window.

EPDM rubber is a dependable choice for doors and trunks. It resists rain, sunlight, ozone, and temperature changes. Silicone handles wider temperature ranges and stays flexible, but it usually costs more. PVC can be economical, though it may harden sooner under strong sunlight. TPE offers useful flexibility and recycling advantages, but its performance varies between formulations.

Design affects sealing pressure. Bulb seals compress against a fixed surface and reduce wind noise. U-channel strips grip a metal edge without complicated tools. Adhesive-backed designs install quickly, but the surface must be clean, dry, and free from wax. Poor alignment can create gaps.

Fit matters more than thickness.

Measure the channel carefully. Check the original profile before ordering. During installation, avoid stretching rubber around corners. Stretching can cause shrinkage later. A practical test involves closing the door on a thin sheet of paper. If the sheet slides out easily, compression may be insufficient. I once assumed a thicker strip would seal better, but the door became difficult to close. That mistake showed me that resistance is not the same as performance. Temperature testing, repeated compression, and water checks provide more reliable evidence than appearance alone.

Evaluating Weather Resistance, Durability, and Noise Reduction

How to Choose the Right Car Seal Strip?

When selecting a car seal strip, test weather resistance before appearance. Sunlight, rain, frost, and road salt attack rubber differently. ASTM G154 and ISO 4892-3 provide recognized methods for accelerated ultraviolet and moisture exposure. Look for low compression set after aging. Otherwise, the strip may not recover after a cold night. A practical check is simple: close the door over a thin paper strip. It should resist pulling, but not tear the paper.

Durability depends on more than hardness. Check tensile strength, elongation, compression recovery, and resistance to water absorption. The material should remain flexible around tight corners and door hinges. A 2023 materials testing review found that repeated compression and temperature cycling can reduce sealing performance more quickly than static aging. That detail matters. Laboratory results can look excellent, yet installation mistakes may create small leakage paths. I have seen this happen around corners.

Noise reduction requires careful expectations. The European Environment Agency’s 2020 report estimated that over 113 million people faced harmful road noise above 55 dB Lden. WHO’s environmental noise guidelines recommend road traffic exposure below 45 dB Lnight. These figures describe outdoor exposure, not cabin performance. Still, they show why sealing gaps matters. Choose a strip with stable contact pressure and a profile suited to the door channel. Measure cabin noise before and after installation with the same phone position and road surface. Phone readings are imperfect, but they reveal obvious changes.

Selecting, Installing, and Maintaining the Right Car Seal Strip

How to Choose the Right Car Seal Strip?

Selecting the correct car seal strip starts with the door, window, or trunk gap. Measure the channel width and strip length before ordering. A strip that looks thick may still compress poorly. Check the vehicle service manual for the original profile and fitting location. EPDM rubber usually handles sunlight, rain, and temperature changes well. For a frequently opened door, choose a flexible profile that rebounds after compression. Press it gently. It should recover without cracks or permanent dents.

Installation depends on the strip design. Clean old adhesive, dust, and oily residue with a suitable automotive cleaner. Let the surface dry completely. Begin at a corner, then guide the strip along the channel without stretching it. Stretching can create gaps later. Use firm, even pressure with your fingers or a soft roller. Avoid sharp tools near painted surfaces. On cold days, warm the strip indoors first. Small details matter.

Test the door after installation. It should close with steady resistance, not excessive force. Listen for wind noise during a short drive. I once fitted a seal that appeared perfect, but one corner lifted after heavy rain. The channel had not been cleaned well enough. That mistake was avoidable.

Inspect the seal every few months for flattening, splits, or loose sections. Wash it with mild soap and water, then dry it fully. Do not apply unknown solvents, since they may harden the rubber. Replace damaged sections before moisture reaches the interior.

Get a Quote
910-483-7828